Introduction
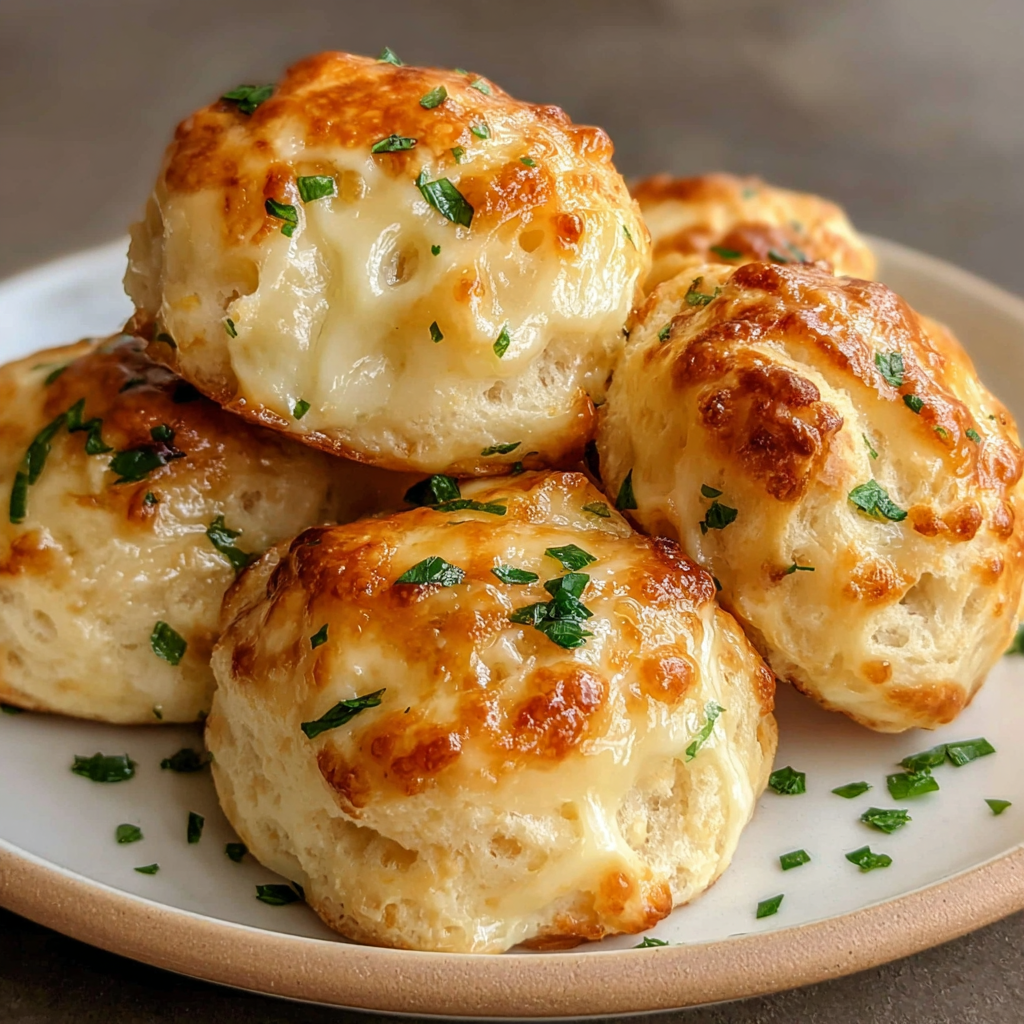
When it comes to comfort food, few things rival the warmth and allure of freshly baked Garlic Butter Cheese Bombs. These little delights encapsulate gooey cheese encased in soft, buttery biscuits. Instant happiness on a plate!
Made effortlessly with Pillsbury Biscuits, this recipe transforms the humble biscuit dough into an explosion of flavor with each irresistible bite. Whether for a party appetizer, game-day snack, or a comforting dinner side, these cheese bombs are bound to impress.
What makes these Garlic Butter Cheese Bombs even more appealing is their simplicity. With just a handful of ingredients and minimal prep time, you'll have a dish that impresses without overwhelming you in the kitchen.
Ingredients
- 2 cans (16.3 oz each) Pillsbury Grands! refrigerated biscuits
- 1 cup shredded mozzarella cheese
- 1/2 cup unsalted butter, melted
- 4 cloves garlic, minced
- 1 tablespoon chopped fresh parsley
- 1/2 teaspoon Italian seasoning
- 1/4 teaspoon salt
- 1/4 teaspoon pepper
- 1/4 cup grated Parmesan cheese
Directions & Preparation
- Preheat your oven to 375°F (190°C) and line a baking sheet with parchment paper.
- In a small bowl, combine the melted butter, minced garlic, parsley, Italian seasoning, salt, and pepper. Mix well.
- Open the cans of refrigerated biscuits and separate them into individual pieces, placing them on a clean surface.
- Flatten each biscuit slightly with your fingers, and place about 2 tablespoons of shredded mozzarella cheese in the center of each biscuit.
- Fold the edges of the biscuit over the cheese and pinch to seal tightly, making a round ball.
- Repeat this process until all biscuits are filled and shaped.
- Place the cheese-filled biscuit balls on the prepared baking sheet, making sure they have some space between them.
- Brush the garlic butter mixture generously over each biscuit bomb, ensuring they are fully coated.
- Sprinkle the grated Parmesan cheese on top of each biscuit for an added burst of flavor.
- Bake in the preheated oven for 12-15 minutes or until golden brown and cooked through.
- Let them cool for a few minutes before serving. Enjoy your Garlic Butter Cheese Bombs warm!

FAQs
What kind of cheese can I use besides mozzarella?
You can use cheddar, provolone, or a blend of your favorite cheeses.
Can I add herbs or spices to the cheese filling?
Absolutely! Feel free to mix in herbs like basil or spices like red pepper flakes.
What if my biscuit bombs are spilling cheese while baking?
Ensure you pinch the edges tightly to seal them properly before baking.
How can I make this recipe spicier?
Add some crushed red pepper flakes or diced jalapeños into the cheese mixture.
Can I use frozen biscuits for this recipe?
Yes, just make sure to thaw them according to package instructions before use.
What should I do if the garlic butter mixture burns while baking?
Reduce the oven temperature slightly or cover the cheese bombs loosely with foil if they start browning too quickly.
Can I prepare the cheese bombs in advance?
You can assemble them and refrigerate before baking; just add a few minutes to the baking time.
What should I serve these with?
They pair nicely with marinara sauce for dipping or a fresh salad on the side.
Conclusion
Garlic Butter Cheese Bombs are a delightful dish that never fails to satisfy. With their crispy exterior and cheesy interior, they bring everyone to the table.
Perfect for any occasion, they’re easy to customize and make ahead of time, giving you flexibility while entertaining or enjoying a cozy night in. Treat your family or guests to this indulgent bite and experience the joy it brings!
Recipe Card
Notes
Additional serving suggestions: pair with a crisp salad, garlic bread, or roasted seasonal vegetables for balance.
For make-ahead, prep components separately and assemble just before heating to preserve texture.
Taste and adjust with acid (lemon/vinegar) and salt right at the end to wake up flavors.


