Introduction
The art of baking has deep roots in history, and one essential component that has stood the test of time is homemade yeast. This 1866 recipe brings forward a way to cultivate your own yeast, allowing you to connect with traditional methods while creating delicious bread and pastries in your kitchen.
In a world of instant gratification, embracing the slow, nurturing process of making your yeast can not only enhance your baked goods but also provide a fascinating insight into culinary history. This recipe is a delightful journey that enriches not just your meals but the experience of cooking itself.
Ingredients
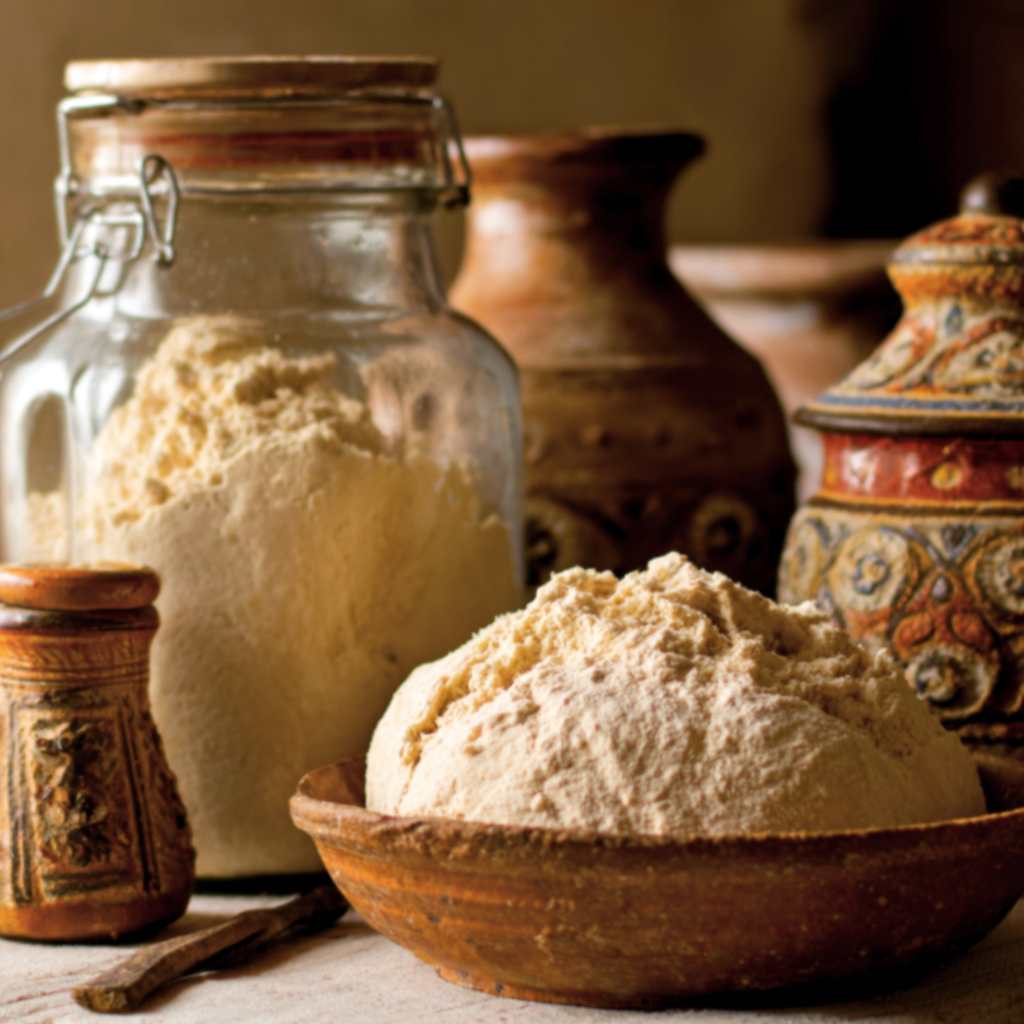
- 2 cups all-purpose flour
Flour is the foundation of any bread recipe. It contains gluten, which gives your yeast bread structure and texture. Using all-purpose flour ensures a good balance between elasticity and tenderness in your final product. - 2 tablespoons sugar
Sugar serves as food for the yeast, aiding fermentation. It also contributes to browning and flavor in your final baked goods, creating that sought-after golden crust and enhancing the overall taste. - 2 cups warm water
Warm water activates the yeast, creating an ideal environment for fermentation. Temperature is crucial here; too hot can kill the yeast, while too cold slows activation. It’s all about finding that sweet spot for effective yeast growth. - 1 tablespoon salt
Salt is essential for flavor, but it also controls yeast fermentation. It strengthens the dough's structure and helps develop gluten, ultimately leading to better bread texture. Just the right amount can elevate your baked goods. - 1 teaspoon vinegar
Vinegar adds acidity, which enhances the yeast's fermentation process and contributes to the flavor profile of your final product. It helps create a more robust loaf while also improving shelf-life.
Directions & Preparation
Step 1: Mix the ingredients.
In a large mixing bowl, combine the flour, sugar, and salt. Mix these dry ingredients well to ensure they are evenly distributed. Creating a well in the center, gradually add warm water and the vinegar. Stir until a thick, paste-like consistency forms. This initial mixing is crucial, as it hydrates the flour thoroughly and allows the sugar to dissolve, setting a solid foundation for fermentation.
Step 2: Let the mixture rest.
Cover the mixture with a clean kitchen towel and let it sit in a warm, draft-free area for 24 hours. This resting period allows wild yeast present in the environment to infiltrate the mixture, leading to fermentation. Ensuring the right temperature and protection from drafts is essential, as it encourages yeast activity and gas production, which will be crucial for the rising of your dough.
Step 3: Check for bubbles.
After 24 hours, you should see bubbles forming on the surface of the mixture, signaling that fermentation is taking place. This is a sign that your yeast starter is alive and ready to use. If you don’t see any bubbles, it may need more time or a warmer spot. Bubbles indicate active yeast, essential for leavening your bread, and understanding this step is key to successful baking.
Step 4: Feed the yeast.
To strengthen your homemade yeast, feed it with equal parts of flour and water, roughly a half cup each, and mix well. Allow it to rest again for another 24 hours. This feeding process replenishes nutrients for the yeast, maintaining its activity and ensuring a robust fermentation. Regular feeding enhances the yeast's potency, making it an essential step in extending the lifespan of your starter.
Step 5: Store your yeast.
After feeding and bubbling, your yeast can be stored in the refrigerator for up to two weeks. Ensure it's in a sealed container to avoid contamination and drying out. You can also make excess yeast and share with friends or save for future baking adventures. Proper storage maintains a healthy environment for your yeast, ensuring it stays active for upcoming baking endeavors.
Step 6: Use your yeast in baking.
When ready to bake, activate your yeast starter by bringing it to room temperature and feeding it again before using it in your recipes. The starter should be bubbly and fragrant, a sign it's ready to leaven your dough. Incorporating this homemade yeast can offer a wonderful depth of flavor and complexity to your bread, showcasing the rich tradition of baking.

The Beauty of Natural Fermentation
Natural fermentation provides incredible flavor depth that commercial yeasts can’t replicate. As the yeast ferments, it consumes sugars and produces organic acids and alcohol, contributing to the tangy flavor profile that enhances the bread. This process not only enriches taste but also aids in the digestibility of the final product, offering a wholesome alternative to modern baking.
Partnering with Time
The beauty of this old-fashioned method is patience; allowing the yeast to mature over time leads to more complex flavors. Unlike fast-acting commercial yeast, homemade yeast requires time to develop, which benefits the bread in terms of taste and texture. Engaging with this slower process allows home bakers to appreciate the skills and knowledge of generations before us.
Nurturing Your Yeast Starter
Taking care of your homemade yeast starter is akin to nurturing a living thing. Regular feeding keeps your yeast active and robust. Remember, the conditions you provide, including temperature and feeding frequency, will impact your starter's performance. Understanding these nuances can lead to more successful outcomes and a sustainable yeast culture you can rely on for all your baking needs.
FAQs
What if my yeast mixture does not bubble after 24 hours?
If there's no bubbling, your mixture may be too cold or lack environmental yeast. Try moving it to a warmer spot or waiting another day. Ensure that ingredients were fresh, particularly the flour.
Can I substitute all-purpose flour with whole wheat flour?
Yes, you can use whole wheat flour, but keep in mind it may take longer to ferment. Whole wheat contains more nutrients, which could enhance yeast activity, resulting in a denser bread.
How do I know if my yeast is too thick?
A yeast mixture too thick may not ferment correctly. If it's more like a paste, add small increments of warm water until a pourable consistency is achieved, helping the yeast activate properly during fermentation.
What should I do if my yeast smells sour?
A sour smell can indicate unwanted bacteria. If it smells unpleasant, discard and start over, as it's crucial to keep your yeast starter clean to ensure a healthy fermentation process.
Can I use my yeast starter in any bread recipe?
Yes, once your yeast starter is active, it can be used in various bread recipes. Adjust the liquid and flour to accommodate the moisture in your starter. It shines particularly well in artisan-style loaves.
How can I tell when my yeast starter is ready to use?
Your starter is ready when it’s bubbly, has doubled in size, and emits a pleasant aroma. Staying attentive to these signs will guide you in capturing the perfect fermentation moment.
Conclusion
Crafting your own yeast offers not only a connection to culinary history but a rewarding experience that pays dividends in flavor and satisfaction. With a little patience and practice, you can elevate your baking from ordinary to extraordinary.
Embrace the journey of this old-fashioned method, and enjoy the fruits of your labor through delicious homemade breads that carry the unmistakable mark of tradition and care.
Recipe Card
Notes
Additional serving suggestions: pair with a crisp salad, garlic bread, or roasted seasonal vegetables for balance.
For make-ahead, prep components separately and assemble just before heating to preserve texture.
Taste and adjust with acid (lemon/vinegar) and salt right at the end to wake up flavors.


