Introduction
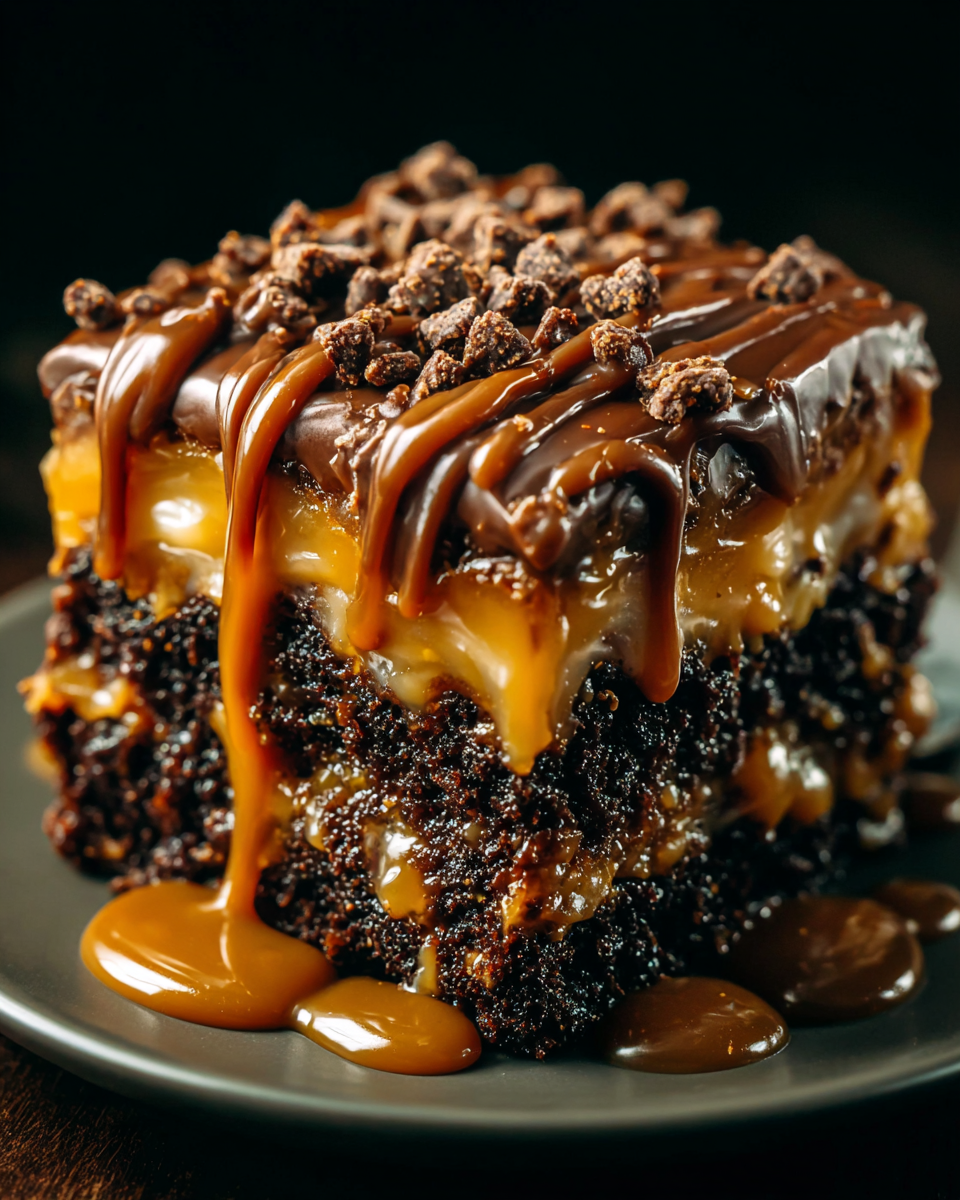
Dessert doesn't have to be complicated to be satisfying, and this Chocolate Caramel Dump Cake is the perfect example. With a few simple ingredients and minimal effort, you can create a delicious, gooey treat that will leave everyone craving more. Ideal for casual gatherings or family dinners, this dessert offers a rich blend of chocolate and caramel that melts in your mouth.
The beauty of this dump cake lies in its name: you simply dump the ingredients into a baking dish and let the oven do the work. No fancy techniques or intricate steps are required. Just layer everything together, bake, and indulge in the warm, comforting flavors. Read on to discover how you can bring this easy dessert into your home kitchen.
Ingredients
- 1 box chocolate cake mix
This serves as the base for the cake, providing structure and sweetness. Using a boxed mix simplifies the process, allowing for quick preparation without needing to measure flour, sugar, or baking powder. - 1 cup caramel sauce
The caramel adds a sweet, liquid layer that seeps into the cake as it bakes, creating a gooey texture. It also enhances the overall flavor by providing a rich, buttery sweetness that pairs beautifully with chocolate. - 1 cup water
Water is essential for hydrating the cake mix, activating its ingredients during baking, and ensuring a moist final product. It helps blend the dry and wet ingredients seamlessly. - 1/2 cup chocolate chips
Chocolate chips bring bursts of rich chocolate flavor throughout the cake. They melt during baking, adding extra gooeyness and a decadent touch to each spoonful. - 1/2 cup butter, melted
Melted butter not only adds richness to the cake but also helps create a tender crumb. It also facilitates the mixture of the other ingredients, ensuring everything binds together nicely. - 1/2 cup chopped nuts (optional)
Adding nuts can introduce a contrasting crunch to the soft, gooey cake. Pecans or walnuts work well and enhance the overall flavor profile of the dessert.
Directions & Preparation
Step 1: Preheat the oven to 350°F (175°C).
Preheating your oven is an essential first step in baking, as it ensures the temperature is consistent. This will allow the cake to bake evenly and rise properly. A well-preheated oven helps in achieving that beautiful, fluffy texture it's known for.
Step 2: Grease a 9×13 inch baking dish.
Greasing the baking dish prevents the cake from sticking, which is especially important since this recipe involves a lot of gooey components. Use butter, oil, or a cooking spray to coat the bottom and sides thoroughly, ensuring clean slices when serving.
Step 3: Pour the dry cake mix into the baking dish.
This step serves as the base layer, forming the structure of your cake. Spreading the mix evenly helps to ensure it bakes uniformly. It’s okay if it looks a little messy—that's part of the charm of a dump cake.
Step 4: Drizzle the caramel sauce over the cake mix.
Drizzling the caramel creates the signature gooeyness that defines this dessert. As it bakes, it seeps into the cake mix, melding flavors beautifully. You might want to reserve a bit for drizzling over the top before serving!
Step 5: Pour water over the entire mixture.
Water adds moisture needed for the cake mix to hydrate and rise. Pouring it over the caramel and cake mix helps distribute the liquid evenly, ensuring a properly hydrated cake throughout. No stirring—just let it do its thing in the oven.
Step 6: Sprinkle chocolate chips and nuts (if desired) on top.
This step adds a delightful layer to your dump cake. The chocolate chips will melt into the cake, while the nuts add a pleasing crunch. They enhance the overall texture and flavor, making every bite more interesting.
Step 7: Drizzle with melted butter.
The final drizzle of melted butter contributes richness and further ensures that the top becomes golden and slightly crispy. This contrasts beautifully with the ooey-gooey layers beneath, reinforcing the indulgent nature of this dessert.
Step 8: Bake for 30-35 minutes.
Baking time is crucial; keep an eye on the cake as it nears the end of the baking duration. You’re looking for set edges and a slightly jiggly center. It will firm up as it cools, so don't overbake; a little gooeyness is key!
Step 9: Let cool briefly before serving.
Allowing the cake to cool just a bit before serving helps to set the layers while maintaining the gooey texture. This waiting period enhances the experience, as the warm cake is delightful when served with a scoop of vanilla ice cream or whipped cream.

Perfect Pairings with Vanilla Ice Cream
To elevate your dessert experience, consider serving the Chocolate Caramel Dump Cake with a generous scoop of vanilla ice cream. The cool creaminess of the ice cream beautifully contrasts the warm, gooey cake, offering a delightful balance. As the ice cream melts into the cake, it creates a luscious pool of vanilla flavor that perfectly complements the chocolate and caramel.
Experimenting with Flavor Additions
The beauty of a dump cake is its versatility. Feel free to get creative with flavor additions, such as adding a tablespoon of espresso powder to enhance the chocolate flavor or a sprinkle of sea salt to counterbalance the sweetness. Mix in different types of chocolate chips, like dark or white chocolate, to create new depth and complexity in your dessert.
Serving Suggestions for Special Occasions
For gatherings and special occasions, consider presenting your Chocolate Caramel Dump Cake in a more appealing manner. Serve it in a large, decorative bowl and sprinkle freshly chopped nuts or coco powder on top for a more polished look. Pairing it with fresh berries can also add a pop of color and a touch of acidity to balance the sweetness.
FAQs
What if my dump cake is too dry?
If your dump cake comes out dry, it may have been overbaked. To prevent this in the future, keep a close watch during the last few minutes of baking. Aim for a slightly underbaked center, as it will continue to set while cooling.
Can I make this cake gluten-free?
Yes, you can use a gluten-free chocolate cake mix instead of regular. Just be sure to check that all other ingredients, including the caramel sauce, are also gluten-free.
What if I want a more intense chocolate flavor?
To boost the chocolate flavor, consider adding cocoa powder or using chocolate pudding mix in place of some dry cake mix. This will deepen the flavor without altering the cake's structure significantly.
Can I substitute caramel sauce with something else?
You can use butterscotch sauce or even chocolate sauce as an alternative. However, using caramel enhances the distinctive sweet and buttery profile that pairs well with chocolate.
What if my sauce is too thick to drizzle?
If your caramel sauce seems too thick, warm it slightly in the microwave or on the stovetop, which will make it easier to drizzle over the cake mix. This step also helps enhance the flavor!
How can I adapt this for a smaller gathering?
To make a smaller batch, use a half-size baking dish or reduce the quantities of each ingredient by half. Keep the baking time similar, checking regularly to ensure it doesn’t overbake.
Conclusion
The Chocolate Caramel Dump Cake is a delightful testament to how simplicity in baking can lead to extraordinary results. With its easy preparation and delectable flavors, it's sure to become a go-to recipe for your dessert repertoire.
So, gather your ingredients and indulge in the lusciousness of chocolate and caramel with this effortless dessert. Your family and friends will rave about the rich, gooey goodness, and you just might find yourself making it again and again!
Recipe Card

Sweet and Savory Honey Garlic Chicken Thighs
Ingredients
- 4 chicken thighs
- 1/2 cup honey
- 1/4 cup soy sauce
- 4 cloves garlic minced
- 1 tablespoon apple cider vinegar
- 1 teaspoon ground ginger
- 1 tablespoon cornstarch optional
- Salt and pepper to taste
Instructions
- Prepare the sauce by mixing honey, soy sauce, garlic, ginger, and vinegar.
- Place chicken thighs in the crock pot and season with salt and pepper.
- Pour the honey garlic sauce over the chicken, ensuring it's well coated.
- Cover and cook on low for 6-8 hours or high for 3-4 hours.
- If using cornstarch, remove chicken 30 minutes before cooking is done.
- Once done, shred or serve the chicken whole, alongside the sauce.
Notes
Additional serving suggestions: pair with a crisp salad, garlic bread, or roasted seasonal vegetables for balance.
For make-ahead, prep components separately and assemble just before heating to preserve texture.
Taste and adjust with acid (lemon/vinegar) and salt right at the end to wake up flavors.


