Introduction
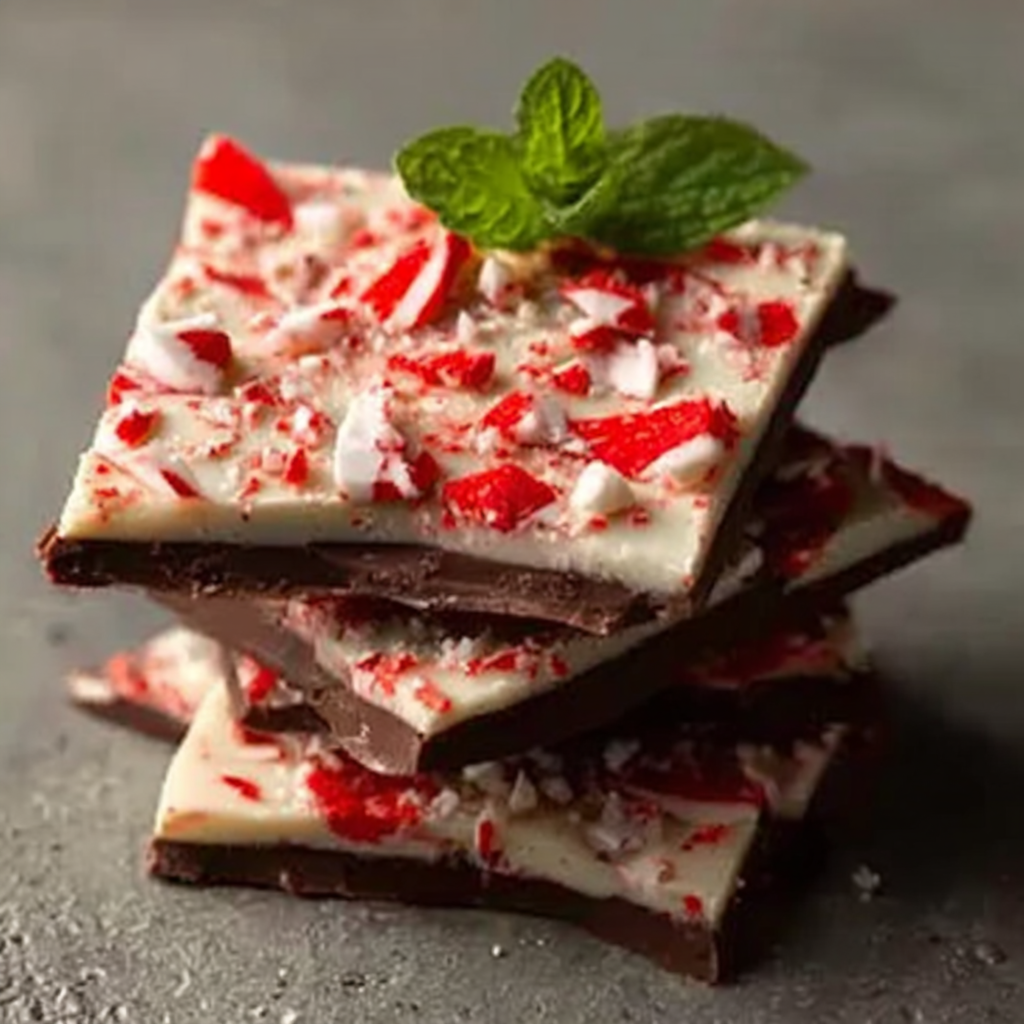
Peppermint bark is a cherished holiday treat, known for its delightful combination of rich chocolate and refreshing peppermint flavor. This indulgent confection brings a sense of festivity and warmth, making it a perfect gift or festive addition to any celebration.
The beauty of peppermint bark lies not only in its taste but also in its simplicity. With just a few high-quality ingredients and some straightforward techniques, you can create a vibrant and impressive dessert right in your kitchen. Let’s explore how to make your own peppermint bark that will delight family and friends alike.
Ingredients
- 8 ounces dark chocolate
Dark chocolate forms the base of the bark and provides a rich, complex flavor. It offers a nice contrast to the sweetness of the white chocolate and the crunch of the peppermint. - 8 ounces white chocolate
White chocolate adds sweetness and a creamy texture to the bark. Its milder taste balances the bitterness of dark chocolate, making it appealing to a wider audience. - 1 teaspoon peppermint extract
Peppermint extract infuses the bark with an intense mint flavor. A little goes a long way, ensuring that each piece has just the right amount of refreshing taste. - 1 cup crushed peppermint candies
Crushed peppermint candies not only add a crunchy texture but also enhance the overall minty flavor, creating a delightful experience with each bite. - a pinch of sea salt
A pinch of sea salt balances the sweetness and enhances the flavors of the chocolate and peppermint. It’s the secret ingredient that takes the bark to another level.
Directions & Preparation
Step 1: Prepare the baking sheet.
Line a baking sheet with parchment paper to prevent the bark from sticking. This step is crucial to ensure that your final product can be easily removed once it's set, allowing you to break it into beautiful pieces without any damage.
Step 2: Melt the dark chocolate.
Chop the dark chocolate into small, even pieces and melt it in a microwave or double boiler. Melting slowly and evenly is vital to prevent the chocolate from seizing. Stir the chocolate continuously to achieve a smooth, glossy texture for the perfect bark.
Step 3: Spread the dark chocolate.
Once melted, pour the dark chocolate onto the prepared baking sheet and spread it evenly with a spatula. This creates the first layer of your peppermint bark and ensures a consistent thickness, which is important for even setting and cutting later.
Step 4: Chill until set.
Place the baking sheet in the refrigerator for about 20-30 minutes, or until the dark chocolate layer hardens. This step allows the chocolate to solidify properly without becoming too brittle, setting a solid foundation for the white chocolate layer.
Step 5: Melt the white chocolate.
Using the same method as before, melt the white chocolate until smooth. Keeping the temperatures controlled is crucial here as white chocolate can scorch easily. The goal is a melted consistency that will spread well and blend perfectly.
Step 6: Add peppermint extract.
Stir the peppermint extract into the melted white chocolate. This infuses the white chocolate with that iconic minty flavor, providing a harmonious blend with the dark chocolate base and enhancing the overall profile of the bark.
Step 7: Spread the white chocolate.
Pour the white chocolate over the set dark chocolate and spread it into an even layer. The contrast between the dark and white layers creates a visually appealing bark, and an even spread ensures every bite has balanced flavors.
Step 8: Sprinkle crushed peppermint.
Sprinkle the crushed peppermint candies over the white chocolate layer before it sets. This not only adds texture and flavor but also provides a festive presentation, making your peppermint bark look as good as it tastes.
Step 9: Chill again.
Return the baking sheet to the refrigerator for at least 30 minutes to allow the entire bark to firm up completely. Proper chilling is crucial; it ensures that all components adhere well and the bark can be easily broken into pieces.
Step 10: Break into pieces.
Once set, lift the bark out of the baking sheet using the parchment paper. Break it into pieces by hand or with a knife. This step enables you to create irregular shapes that are both charming and perfect for sharing.

The Joy of Peppermint Variations
While the classic peppermint bark is delightful, experimenting with variations can elevate your creation. Consider adding layers of milk chocolate or incorporating other flavors like orange zest for a refreshing twist. Nuts or even a sprinkle of sea salt can add texture and depth, transforming a traditional favorite into a unique culinary experience.
Gift-Worthy Peppermint Bark
Peppermint bark makes a fantastic homemade gift, especially during the holiday season. Package it in clear cellophane bags or decorative tins, and you have a thoughtful, memorable treat for friends and family. Personalizing the packaging with ribbons or holiday-themed labels can really make your gift stand out.
Perfect Pairings with Peppermint Bark
Peppermint bark pairs well with a variety of beverages, especially hot chocolate or peppermint tea. For adults, consider serving it alongside a dessert wine or coffee. These pairings can enhance the flavor profiles and create a complete sensory experience, elevating your peppermint bark from a simple treat to a phenomenal holiday experience.
FAQs
What if my bark is too thick?
If your peppermint bark turns out too thick, it can be challenging to break apart. Ensure you spread the chocolate layer evenly and consider using a larger baking sheet next time to achieve a thinner layer.
Can I use milk chocolate instead of dark?
Yes, you can substitute milk chocolate for dark chocolate if you prefer a sweeter taste. Be aware that this will change the flavor profile, resulting in a creamier bark.
What should I do if the chocolate seizes while melting?
If the chocolate seizes, try adding a small amount of vegetable oil or shortening to the mixture and gently warming it again. This can help restore the smooth consistency necessary for spreading.
How can I adjust the peppermint flavor?
To enhance or reduce the peppermint flavor, adjust the amount of peppermint extract. Start with the recommended amount and taste as you mix to find your preferred intensity.
What if my white chocolate doesn’t melt smoothly?
If white chocolate doesn’t melt smoothly, it may be overheated. Always microwave in short intervals, stirring in between. If it seizes, try adding a small amount of cream or milk to help smooth it out.
Can I add other toppings to my peppermint bark?
Absolutely! You can incorporate toppings like crushed nuts, drizzled chocolate, or dried fruit for added texture and flavor. Be creative and customize your bark to suit your taste.
Conclusion
Making peppermint bark at home is not only rewarding but also allows for customization to suit your taste and those of your loved ones. The process marries simplicity with creativity, making it an enjoyable project for both novice and seasoned bakers.
As you break apart your creation, enjoy the satisfaction of knowing that you made something beautiful and delicious from scratch. Whether enjoyed at home or gifted to friends, your peppermint bark is sure to be a hit this season.
Recipe Card
Notes
Additional serving suggestions: pair with a crisp salad, garlic bread, or roasted seasonal vegetables for balance.
For make-ahead, prep components separately and assemble just before heating to preserve texture.
Taste and adjust with acid (lemon/vinegar) and salt right at the end to wake up flavors.


