Introduction
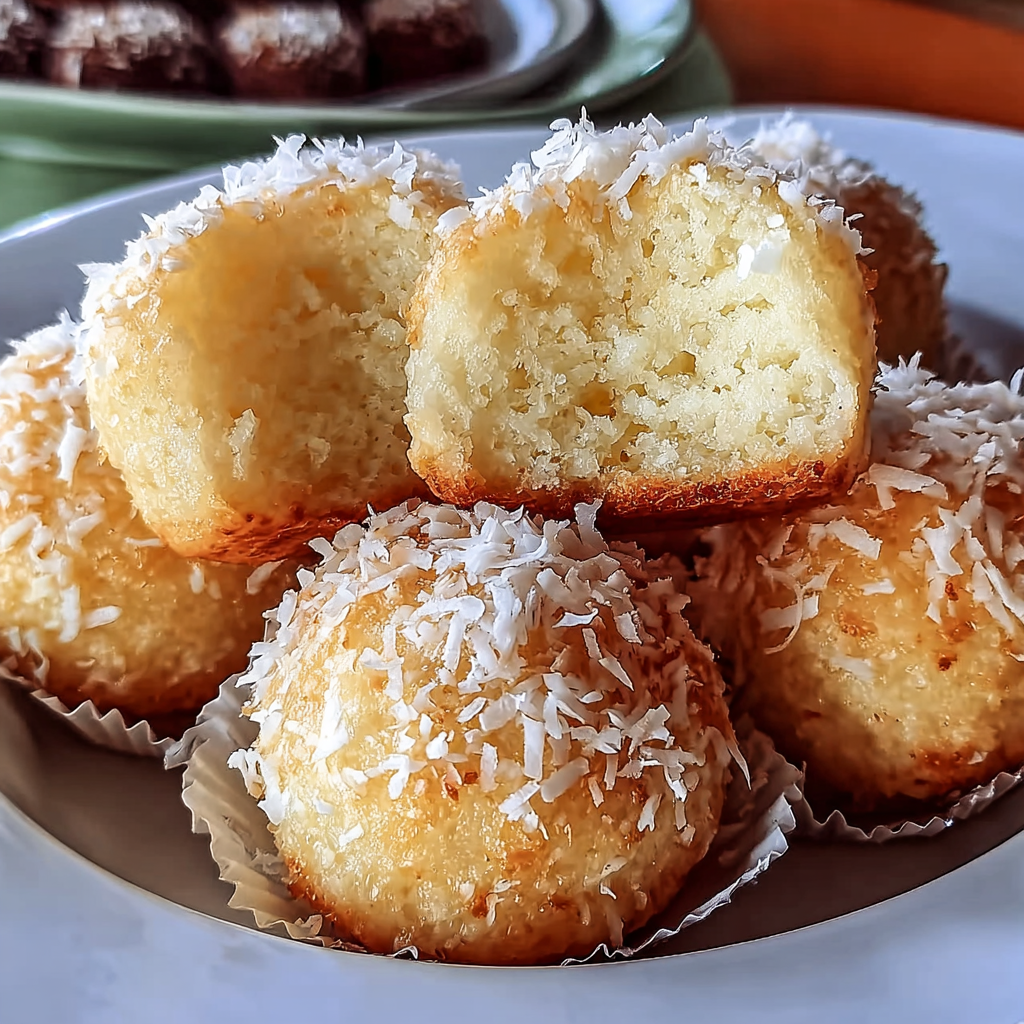
Heavenly Portuguese coconut cakes are a delightful treat that reflects the rich culinary traditions of Portugal. With their tender crumb and lush coconut flavor, these cakes are popular for celebrations and everyday indulgences alike. You’ll find that their pleasantly sweet taste makes them irresistible, serving as a perfect complement for a warm cup of coffee or tea.
The unique texture of coconut combined with fluffy cake creates a memorable experience for your taste buds. In this article, we'll explore the ingredients, preparation methods, and some interesting tidbits about these beloved pastries. Get ready to elevate your baking game with these delectable coconut cakes!
Ingredients
- 1 ½ cups all-purpose flour
All-purpose flour provides the structure for the cakes. Its versatility helps create a fluffy yet firm crumb, capturing the moisture from the other ingredients nicely. - 1 cup granulated sugar
Sugar not only sweetens the cake but also contributes to its moisture. It caramelizes during baking, enhancing flavor and creating a beautiful golden color on the surface. - 1 cup unsweetened shredded coconut
Shredded coconut gives the cakes their signature flavor and texture. It retains moisture well, ensuring the cakes remain soft and inviting. - 3 large eggs
Eggs play a critical role in binding the ingredients together and providing structure. They also help achieve a tender crumb due to their moisture content. - ½ cup coconut milk
Coconut milk infuses the cakes with an extra layer of coconut flavor while adding richness. Its high-fat content keeps the cakes deliciously moist. - ½ cup melted butter
Melted butter introduces a wonderful depth of flavor and helps achieve the desired tenderness in the cake. The fat also aids in the browning process. - 1 tablespoon baking powder
Baking powder acts as a leavening agent, which is essential for the cake’s rise. This ensures that the cakes are light, airy, and not dense. - 1 teaspoon vanilla extract
Vanilla extract enhances the overall flavor of the coconut cakes, providing a well-rounded taste that complements the other ingredients beautifully. - Pinch of salt
Salt intensifies the flavors of the cake, balancing the sweetness and enhancing the overall taste experience.
Directions & Preparation
Step 1: Preheat your oven to 350°F (175°C) and grease your cake pans.
Preheating the oven is crucial to ensuring that the cakes rise evenly and bake through properly. Greasing the pans prevents the cakes from sticking, allowing for a smooth release once baked.
Step 2: In a mixing bowl, combine the flour, sugar, baking powder, and salt.
Mixing the dry ingredients together thoroughly ensures an even distribution of the leavening agent and salt, which is key for consistent texture throughout the cake. This step lays the foundation for a successful bake.
Step 3: In another bowl, whisk the eggs, then add the melted butter, coconut milk, and vanilla extract.
This mixture incorporates the wet ingredients, which will activate the leavening agent when combined with the dry ingredients. Whisking the eggs well is important for a uniform batter.
Step 4: Combine the wet and dry ingredients, then fold in the shredded coconut.
Gently mixing the wet and dry ingredients prevents overmixing, which can lead to a dense cake. Folding in the shredded coconut provides texture and ensures it's evenly distributed without breaking it down.
Step 5: Pour the batter into the prepared cake pans and smooth the tops.
Smoothing the tops of the batter ensures even baking and gives a polished look to the cakes. This attention to detail enhances the presentation of the final product.
Step 6: Bake for 25 to 30 minutes, or until a toothpick inserted comes out clean.
Baking time can vary depending on the oven, so checking for doneness with a toothpick is vital. This step ensures the cakes are perfectly baked, neither undercooked nor overcooked.
Step 7: Let the cakes cool in the pans for 10 minutes, then transfer to wire racks.
Allowing the cakes to cool slightly in the pans helps them set, making them easier to remove. Transferring to wire racks promotes even cooling, preventing sogginess on the bottom.
Step 8: Once cool, you can frost or simply dust with powdered sugar before serving.
Adding frosting or a dusting of powdered sugar enhances visual appeal and can add extra flavor. It’s an opportunity to get creative with toppings that elevate the cakes.

The Origin of Portuguese Coconut Cakes
Portuguese coconut cakes, or 'Bolos de Coco,' have a rich history rooted in the Mediterranean influences of the region. Historically, these cakes became popular in coastal areas where coconuts were readily available thanks to trade routes. They are often made during holiday celebrations and family gatherings, serving as cherished symbols of togetherness.
Celebrating Flavors and Textures
The unique combination of the soft, tender cake paired with the chewy texture of shredded coconut results in a delightful contrast that excites the palate. This harmonious blend is a hallmark of Portuguese desserts, which often celebrate the use of fresh and local ingredients, resulting in rich flavors that evoke nostalgia.
Pairing Suggestions for Coconut Cakes
When it comes to pairing, these coconut cakes can be beautifully complemented by various accompaniments. Consider serving them with a dollop of whipped cream or fresh tropical fruits. They also pair exceptionally well with a shot of espresso or a light dessert wine, enhancing the flavors and creating a well-rounded tasting experience.
FAQs
Can I add fruit to the coconut cake batter?
Absolutely! You can fold in diced pineapples or mangoes for a tropical twist that pairs beautifully with the coconut.
What can I do if my cake is too dry?
If your cake turns out dry, consider brushing it with a simple syrup made of equal parts sugar and water to add moisture and sweetness.
Can I substitute coconut flour for regular flour?
You can use coconut flour, but you'll need to adjust the liquid in the recipe as it absorbs more moisture than all-purpose flour.
Why are my cakes not rising?
If your cakes didn't rise, it could be due to expired baking powder. Always check the freshness of your leavening agents before use.
How can I enhance the coconut flavor further?
To boost the coconut flavor, consider adding coconut extract or increasing the amount of shredded coconut in the recipe.
Can I layer these cakes?
Yes! These cakes can be layered for a delightful presentation, especially when filled with cream or frosting between the layers.
Conclusion
Making heavenly Portuguese coconut cakes at home is a delightful adventure that brings a taste of Portugal to your kitchen. With their unique flavors and satisfying texture, these cakes are sure to impress friends and family alike.
Experimenting with the recipe and pairing suggestions opens up possibilities for personal touch. Enjoy baking, and savor every bite of these sweet, coconut-infused treats!
Recipe Card

Delightful Portuguese Coconut Cakes to Savor
Ingredients
- 1 ½ cups all-purpose flour
- 1 cup granulated sugar
- 1 cup unsweetened shredded coconut
- 3 large eggs
- ½ cup coconut milk
- ½ cup melted butter
- 1 tablespoon baking powder
- 1 teaspoon vanilla extract
- Pinch of salt
Instructions
- Preheat your oven to 350°F (175°C) and grease your cake pans.
- In a mixing bowl, combine the flour, sugar, baking powder, and salt.
- In another bowl, whisk the eggs, then add the melted butter, coconut milk, and vanilla extract.
- Combine the wet and dry ingredients, then fold in the shredded coconut.
- Pour the batter into the prepared cake pans and smooth the tops.
- Bake for 25 to 30 minutes, or until a toothpick inserted comes out clean.
- Let the cakes cool in the pans for 10 minutes, then transfer to wire racks.
- Once cool, you can frost or simply dust with powdered sugar before serving.
Notes
Additional serving suggestions: pair with a crisp salad, garlic bread, or roasted seasonal vegetables for balance.
For make-ahead, prep components separately and assemble just before heating to preserve texture.
Taste and adjust with acid (lemon/vinegar) and salt right at the end to wake up flavors.


