Introduction
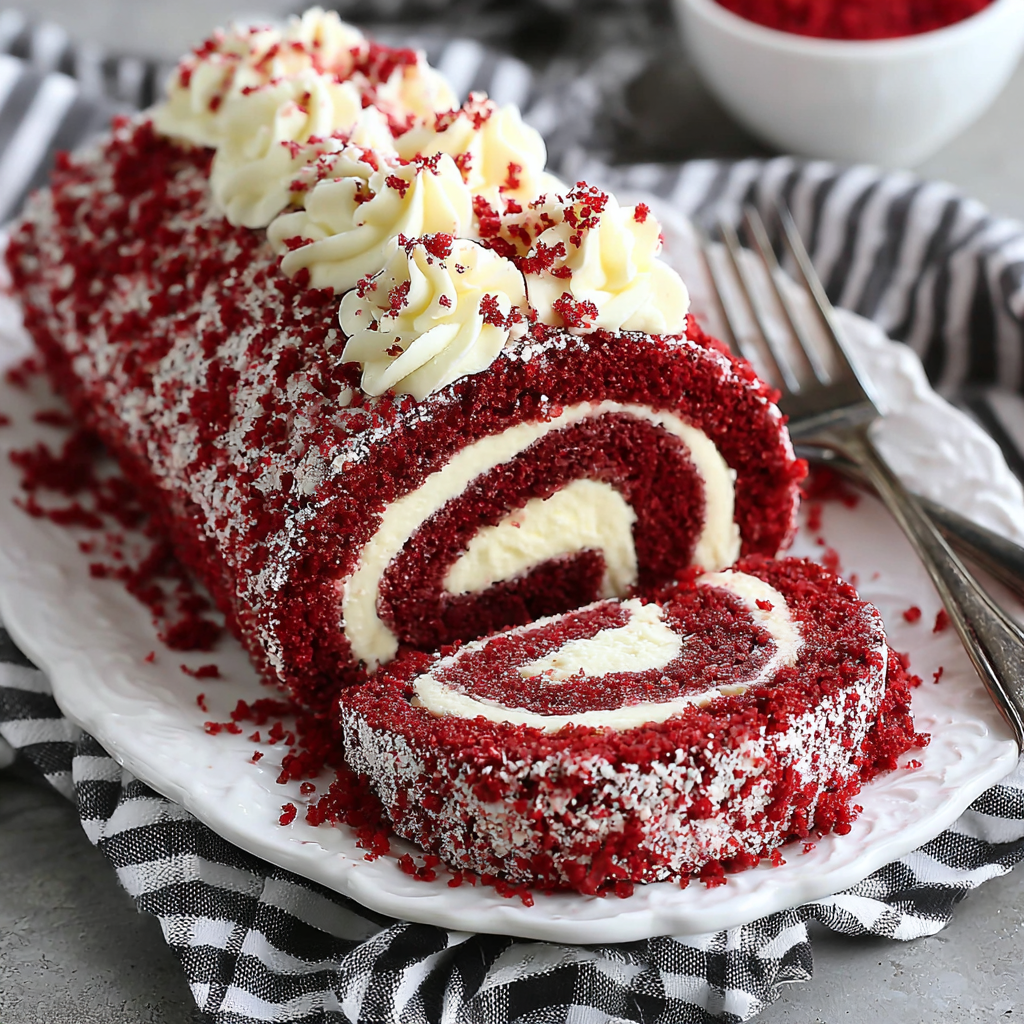
Red velvet cake has long been a favorite for its striking color and rich flavor. Transforming this classic treat into a cake roll introduces a fun twist and makes it easier to slice and serve at gatherings. The combination of light, fluffy cake and creamy filling makes for a visually appealing dessert that's bound to impress guests.
The vibrant red color of this roll not only makes it a festive choice but also adds an element of indulgence. Whether you're celebrating a milestone or simply enjoying a quiet afternoon, this red velvet cake roll is an elegant addition to weekend baking. Let’s dive into the flavors and textures that make this dessert special.
Ingredients
- 3/4 cup all-purpose flour
This is the primary structure-building ingredient. It provides the necessary gluten that gives the cake its shape and texture when baked. - 1/2 cup granulated sugar
Sugar not only sweetens the cake but also helps retain moisture, contributing to the cake’s tenderness and overall flavor. - 2 large eggs
Eggs act as a binding agent, helping to hold the ingredients together while also adding richness and moisture to the cake. - 1/4 cup vegetable oil
Oil adds moisture and ensures the cake remains soft and tender, contrasting with a butter-based recipe which can yield a denser result. - 1 tsp vanilla extract
Vanilla enhances the flavor profile of the cake, balancing the cocoa and creating a more complex taste experience. - 1 tbsp unsweetened cocoa powder
Cocoa adds depth and subtle chocolate notes without overwhelming the distinct red velvet flavor, providing a beautiful contrast in color. - 1/2 tsp baking powder
Baking powder helps the cake rise during baking, resulting in a light and fluffy texture as the cake expands. - 1 tsp white vinegar
Vinegar reacts with baking soda to create carbonation, helping to further lighten the texture. It also enhances the cocoa's color. - 1/2 cup cream cheese, softened
The cream cheese filling gives the roll a tangy sweetness that complements the richness of the cake, adding a luxurious texture. - 1/4 cup powdered sugar
Powdered sugar sweetens the cream cheese filling, giving it the perfect consistency and pleasant taste. - 1 tsp milk (if needed)
Milk may be added to adjust the consistency of the cream cheese filling, ensuring it’s spreadable without being too runny.
Directions & Preparation
Step 1: Preheat your oven to 350°F (175°C) and prepare a jelly roll pan.
Preheating the oven ensures that the cake begins cooking at the right temperature for proper rising. Preparing a jelly roll pan by lining it with parchment paper allows the cake to be easily removed and rolled without sticking, preserving its delicate structure.
Step 2: In a large bowl, combine the flour, sugar, cocoa powder, and baking powder.
Mixing the dry ingredients together in a single bowl ensures they are evenly distributed before adding the wet ingredients. This step is crucial in creating a uniform cake texture and avoids any clumps of cocoa or sugar that could impact flavor.
Step 3: In a separate bowl, whisk together the eggs, oil, vanilla extract, and vinegar.
Whisking the wet ingredients thoroughly allows for air incorporation, which contributes to the cake’s fluffiness. The vinegar enhances the red color while also reacting with the baking powder to create lift during baking.
Step 4: Gradually add the wet mixture to the dry ingredients and mix until just combined.
This gentle mixing helps prevent overworking the batter, which could lead to a tough cake. By mixing until just combined, you achieve a soft batter that will bake up tender and moist.
Step 5: Pour the batter into the prepared pan, spreading evenly.
Spreading the batter evenly in the pan ensures that the cake bakes uniformly. Crowded edges may bake faster, leading to uneven texture, while a thin layer helps achieve the desired consistency for rolling.
Step 6: Bake for 10-12 minutes or until a toothpick inserted into the center comes out clean.
Monitoring the baking time is crucial as overbaking can dry out the cake. The toothpick test is an effective way to check doneness without opening the oven too often, allowing you to maintain the heat for proper baking.
Step 7: Once baked, let the cake cool for a few minutes before carefully inverting it onto a clean towel dusted with powdered sugar.
Inverting the warm cake onto a sugar-dusted towel minimizes sticking and allows for easier rolling. The powdered sugar also prevents the cake from sticking to the towel, making it hassle-free to shape.
Step 8: Roll the cake tightly with the towel from one short end to the other.
Rolling the cake while warm helps it retain its shape, preventing cracking when it cools. This technique is essential to achieve the desired spiral when slicing, contributing to the cake's aesthetic appeal.
Step 9: Allow the rolled cake to cool completely, about 30 minutes.
Cooling the cake completely is vital to set its structure and prevent the filling from melting when applied. It allows the cake to firm up, ensuring that it holds its shape once unrolled.
Step 10: In a bowl, beat the cream cheese and powdered sugar until smooth.
Achieving a smooth consistency in the filling is important for even spreading. The cream cheese should be softened to avoid lumps, creating a creamy mixture that complements the fluffy cake.
Step 11: If necessary, add a splash of milk to reach spreading consistency.
Adjusting the filling's thickness with milk provides better spreadability, ensuring that it adheres well to the cake surface without making it too runny. This step allows for a neat assembly when unrolling the cake.
Step 12: Unroll the cooled cake carefully and spread the filling evenly over the surface.
Spreading the filling evenly is crucial to achieving a balanced flavor in every bite. Ensuring that the mixture reaches the edges of the cake will provide a delightful contrast with each slice.
Step 13: Roll the cake back up without the towel and refrigerate for at least one hour before slicing.
Refrigerating the rolled cake helps to set the filling and firm up the structure, making it easier to slice without squishing the cake. This patience results in a cleaner, more attractive presentation.
Step 14: Slice and serve your red velvet cake roll.
Slicing just before serving keeps the cake fresh, allowing guests to indulge in the delightful contrast of soft cake and creamy filling. Presenting it on a beautiful platter enhances its visual appeal and creates a memorable experience.

The Science Behind Red Velvet's Color
The remarkable red hue of red velvet cake is a result of a chemical reaction between cocoa powder and acidic ingredients like buttermilk and vinegar. Traditional recipes relied on this natural reaction, making it not just visually captivating but also flavorful. Today, many bakers use food coloring to enhance the color, ensuring that the cake stands out on any dessert table.
Variations to Elevate Your Reg Velvet Roll
There’s room for creativity when making your red velvet cake roll. Consider adding a hint of citrus zest to the filling for a refreshing twist or experimenting with flavored extracts, like almond or hazelnut, for a distinct flavor profile. You can also top the roll with a dusting of cocoa powder or festive sprinkles, elevating its appearance while adding an extra touch of fun.
The Perfect Pairings for Serving
Pairing your red velvet cake roll with accompaniments can enhance the overall experience. A scoop of vanilla ice cream or a dollop of whipped cream complements the rich flavors beautifully, while a fresh fruit compote adds a bright contrast that balances sweetness. These thoughtful pairings can transform a simple dessert into an extravagant treat suitable for any occasion.
FAQs
Why did my red velvet roll crack when I unrolled it?
A cracked roll could result from not cooling the cake sufficiently or rolling it too tightly. Ensure your cake is fully cooled and roll gently to prevent this.
Can I use a different filling instead of cream cheese?
Absolutely! You can substitute with whipped cream, mascarpone, or even a fruit preserve to bring a different taste while still maintaining the rolled structure.
Why is my cake roll too dense?
A dense cake roll may stem from overmixing the batter or incorrect ingredient measurements. Focus on mixing just until combined and ensure accuracy in measurements.
How can I adjust the sweetness of the filling?
You can reduce the amount of powdered sugar in the cream cheese filling for a less sweet version. Tasting and adjusting as you go will help achieve the perfect balance.
Can I make a larger batch of the cake roll?
To scale the recipe, you can double the ingredients, but keep baking times in mind, as a larger roll may require more time to bake fully.
What if I find the consistency of the batter too thick?
If the batter seems too thick, you might need to add a tablespoon of warm water or milk to reach the desired pourable consistency without making it runny.
Conclusion
Creating a red velvet cake roll is an enjoyable process that combines baking skills with creativity. Every step not only contributes to the delicious outcome but also makes for a fun and engaging activity in the kitchen.
With its festive appearance and sumptuous flavor, this dessert is sure to become a favorite in your repertoire. Your friends and family will be delighted by its charm and taste, making gatherings even more special.
Recipe Card

Delightful Red Velvet Cake Roll for Any Occasion
Ingredients
- 3/4 cup all-purpose flour
- 1/2 cup granulated sugar
- 2 large eggs
- 1/4 cup vegetable oil
- 1 tsp vanilla extract
- 1 tbsp unsweetened cocoa powder
- 1/2 tsp baking powder
- 1 tsp white vinegar
- 1/2 cup cream cheese softened
- 1/4 cup powdered sugar
- 1 tsp milk if needed
Instructions
- Preheat your oven to 350°F (175°C) and prepare a jelly roll pan.
- In a large bowl, combine the flour, sugar, cocoa powder, and baking powder.
- In a separate bowl, whisk together the eggs, oil, vanilla extract, and vinegar.
- Gradually add the wet mixture to the dry ingredients and mix until just combined.
- Pour the batter into the prepared pan, spreading evenly.
- Bake for 10-12 minutes or until a toothpick inserted into the center comes out clean.
- Once baked, let the cake cool for a few minutes before carefully inverting it onto a clean towel dusted with powdered sugar.
- Roll the cake tightly with the towel from one short end to the other.
- Allow the rolled cake to cool completely, about 30 minutes.
- In a bowl, beat the cream cheese and powdered sugar until smooth.
- If necessary, add a splash of milk to reach spreading consistency.
- Unroll the cooled cake carefully and spread the filling evenly over the surface.
- Roll the cake back up without the towel and refrigerate for at least one hour before slicing.
- Slice and serve your red velvet cake roll.
Notes
Additional serving suggestions: pair with a crisp salad, garlic bread, or roasted seasonal vegetables for balance.
For make-ahead, prep components separately and assemble just before heating to preserve texture.
Taste and adjust with acid (lemon/vinegar) and salt right at the end to wake up flavors.


