Introduction
Cannoli, a classic Italian dessert, is known for its crispy shell and creamy filling. However, they can be a bit tricky to prepare. Enter the Cannoli Squares – an easier, more accessible way to enjoy the same delightful flavors without the fuss.
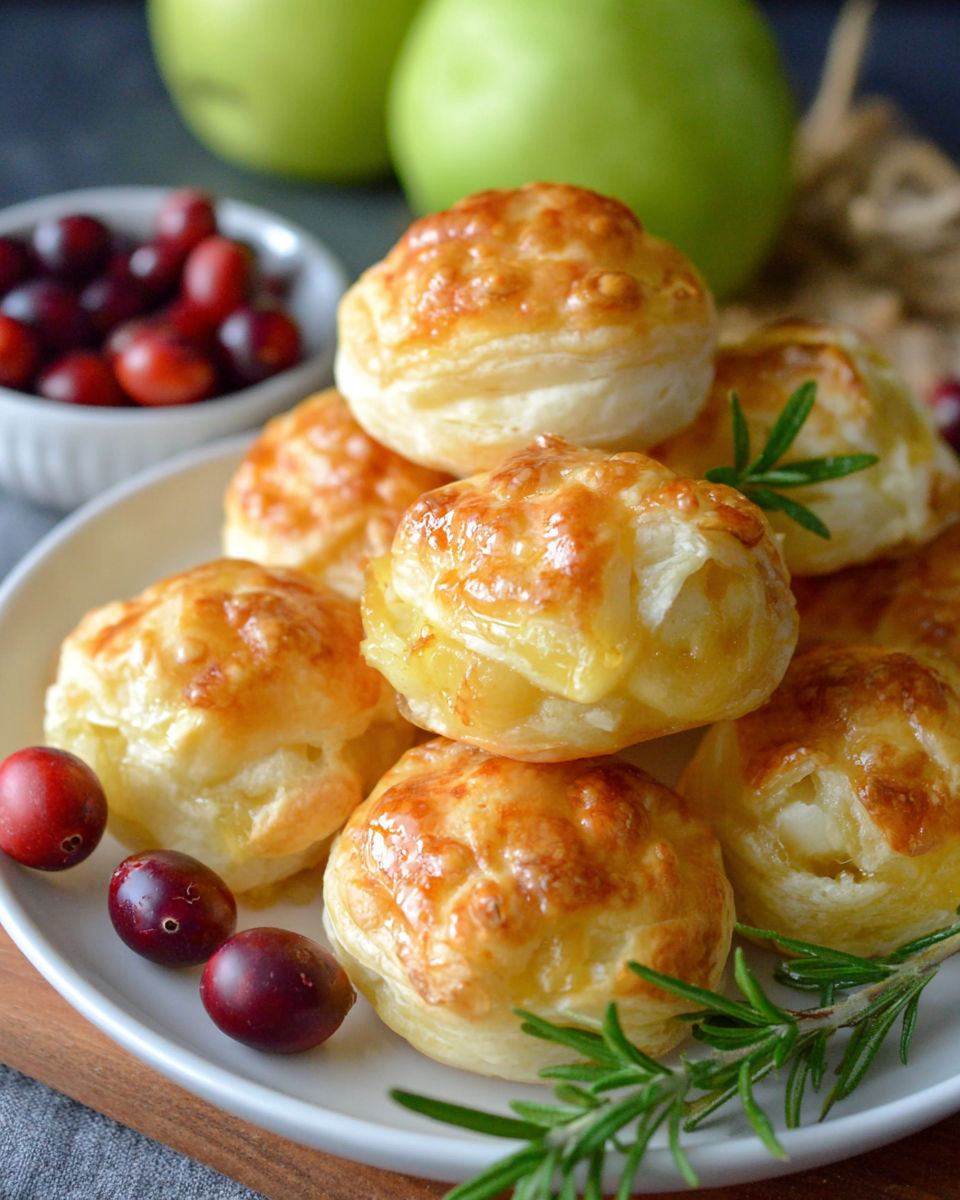
These squares capture all the beloved elements of traditional cannoli, making them perfect for gatherings, family events, or a special treat at home. With a crunchy base, a smooth ricotta filling, and a dusting of powdered sugar, you won't miss the original.
Whether you are a seasoned baker or a novice in the kitchen, this recipe is sure to impress your family and friends. Let’s dive into the rich history and the simple, yet satisfying process of creating these delectable squares.
Ingredients
- 1 ½ cups all-purpose flour
The cornerstone of the crust, all-purpose flour provides the necessary structure and stability. It forms the base that will hold the creamy filling and gives a light crunch when baked. - ½ cup powdered sugar
Powdered sugar sweetens the dough without adding any graininess, ensuring a smooth texture. It is important for balancing the flavors and contributing to the crust's tenderness. - ⅓ cup unsalted butter, softened
Butter adds rich flavor and moisture to the crust. It helps create a flaky yet firm texture; the more butter, the richer the taste. - 1 egg yolk
Egg yolks contribute to the dough’s richness and help bind the ingredients together. They also enhance the color and flavor of the crust. - 2 cups ricotta cheese
The primary filling ingredient, ricotta cheese offers a creamy texture and mild flavor that is essential for a classic cannoli experience. Make sure to use well-drained ricotta for the best consistency. - ½ cup granulated sugar
Granulated sugar sweetens the ricotta filling, balancing the flavors and enhancing the overall taste. It should be added in the right amount to ensure the filling is enjoyable, not overly sweet. - 1 teaspoon vanilla extract
Vanilla extract adds depth and aromatic quality to the ricotta filling. It's a vital flavor in traditional cannoli that elevates the overall dessert. - ½ cup mini chocolate chips
Chocolate chips bring sweetness and a fun texture contrast to the creamy filling. They are a classic addition, evoking the authentic cannoli experience. - Powdered sugar for dusting
Used for finishing touches, a dusting of powdered sugar adds a touch of sweetness and an appealing aesthetic. It enhances the presentation of the squares, making them look inviting.
Directions & Preparation
Step 1: Preheat the oven to 350°F (175°C).
Preheating the oven is a crucial first step. It ensures that the baking temperature is consistent throughout the cooking process, which helps the crust to rise properly and achieve that golden-brown color that makes it so enjoyable.
Step 2: In a medium bowl, whisk together flour and powdered sugar.
Mixing the flour and powdered sugar helps to evenly distribute the sweetness throughout the flour. This step is vital for achieving a uniform crust and avoiding clumps in the dough, setting the foundation for a delicious base.
Step 3: In a separate bowl, cream together butter and egg yolk until smooth.
Creaming the butter and egg yolk aerates the mixture, incorporating air that will help the crust become light and flaky. Ensure the butter is at room temperature for easy mixing, contributing to a smoother end product.
Step 4: Combine the wet and dry ingredients.
Gradually incorporating the dry ingredients into the wet ensures a thorough mix without overworking the dough. You want the mixture to come together smoothly without visible dry spots, leading to a consistent texture.
Step 5: Press the dough into a greased baking dish, evenly covering the bottom.
Pressing the dough into the baking dish evenly is critical for uniform baking. An even layer will result in a consistent texture, and preventing overbaking or underbaking in different areas is key to a successful finish.
Step 6: Bake the crust for 20–25 minutes until golden brown.
Baking the crust allows it to firm up and develop flavor through caramelization. Watch for a light golden color as an indicator of doneness while avoiding overbaking, which can lead to a dry texture.
Step 7: While the crust is baking, prepare the filling by mixing the ricotta cheese, granulated sugar, vanilla extract, and chocolate chips.
Focusing on the filling while the crust bakes is essential for timing. Ensure all ingredients are fully blended for a creamy consistency. The incorporation of chocolate chips adds delightful pockets of sweetness to each bite.
Step 8: Spread the filling evenly over the cooled crust.
Allowing the crust to cool completely before spreading the filling is crucial. A warm crust might cause the filling to melt and slide, leading to a messy dessert. Even spreading ensures that every square has an ample amount of filling.
Step 9: Chill the assembled cannoli squares in the refrigerator for at least 2 hours.
Chilling the squares allows the flavors to meld and the filling to set, resulting in a more cohesive dessert. This is a vital step for achieving the right texture and ensuring the squares hold their shape when sliced.
Step 10: Before serving, dust with powdered sugar for presentation.
The finishing touch, a dusting of powdered sugar, not only enhances the dessert's aesthetic appeal but also adds an additional layer of sweetness. It’s the perfect way to elevate your presentation before serving.

Perfecting the Crust Texture
Achieving the right texture for the crust is essential in cannoli squares. The balance of flour and butter is crucial; adding too much flour can make the crust dense, while too little can lead to a soggy base. A thorough mixing and proper baking time will ensure a delicate crunch that complements the creamy filling.
Customizing the Filling Flavor
While the traditional filling is delightful, experimenting with flavor tweaks can bring a unique twist. Consider adding a pinch of cinnamon or a splash of orange zest for a hint of warmth and brightness. Personalizing the filling allows for creativity and can turn these squares into your signature treat.
Serving Suggestions for Memorable Occasions
These cannoli squares are a versatile dessert that fits a variety of occasions. For discerning dinner parties, serve them with a side of fresh berries or a drizzle of chocolate sauce. At casual gatherings, pair them with coffee or espresso for a delightful after-dinner indulgence.
FAQs
What if my ricotta filling is too runny?
If your ricotta filling is too runny, ensure that you use well-drained ricotta. You may also consider adding a little cornstarch to thicken it or chilling the filling longer before spreading it on the crust.
Can I scale this recipe for a larger group?
Absolutely! To scale the recipe, simply multiply the ingredient amounts by the number of servings you need. Adjust baking time if using a larger pan to ensure even cooking and consistency.
What should I do if the crust is too crumbly?
If the crust turns out crumbly, it might be due to overmixing or not enough butter. You can add a bit of milk or more butter until the dough holds together better before pressing it into the pan.
How can I tell when the crust is properly baked?
The crust is properly baked when it turns a light golden color around the edges and is firm to the touch. It shouldn't be too dark; overbaking can lead to a hard texture.
Can I use mascarpone cheese instead of ricotta?
You can substitute mascarpone cheese for ricotta for a creamier filling, but it may alter the flavor slightly. Ensure to balance the sugar accordingly, as mascarpone can be sweeter.
What if my chocolate chips melt during mixing?
If the chocolate chips melt while mixing into the filling, no need to worry! They will still provide flavor; just ensure to stir gently next time to keep them intact.
Conclusion
Classic Cannoli Squares provide an approachable yet scrumptious twist on an iconic dessert. They encapsulate the delightful marriage of flavors and textures that cannoli lovers crave.
Whether you enjoy them during a festive gathering or as a sweet treat at home, these squares will charm anyone who takes a bite. Indulging in a slice feels like a mini-vacation to Italy, right from your kitchen.
Recipe Card

Delicious Apple Crumb Cake with Cinnamon Drizzle
Ingredients
- 2 cups all-purpose flour
- 1 teaspoon baking powder
- ½ teaspoon baking soda
- ½ teaspoon salt
- ¾ cup unsalted butter softened
- 1 cup granulated sugar
- 2 large eggs
- 1 teaspoon vanilla extract
- 3 cups peeled and chopped apples
- ½ cup brown sugar
- 1 teaspoon ground cinnamon
- 1 tablespoon milk
Instructions
- Preheat the oven to 350°F (175°C).
- Grease and flour a 9x13 inch baking pan.
- In a mixing bowl, whisk together the flour, baking powder, baking soda, and salt.
- In a separate bowl, cream together the softened butter and granulated sugar until light and fluffy.
- Add the eggs, one at a time, mixing well after each addition, then stir in vanilla extract.
- Gradually add the dry ingredients to the wet ingredients, mixing just until combined.
- Fold in the chopped apples gently.
- Pour the batter into the prepared pan and smooth the top.
- In a separate bowl, combine brown sugar, flour, cinnamon, and butter to make the crumb topping.
- Sprinkle the crumb topping evenly over the batter.
- Bake for 40-45 minutes or until a toothpick comes out clean.
- While the cake cools, prepare the cinnamon apple drizzle by combining powdered sugar, cinnamon, and milk until smooth.
- Drizzle the cinnamon apple mixture over the cooled cake.
Notes
Additional serving suggestions: pair with a crisp salad, garlic bread, or roasted seasonal vegetables for balance.
For make-ahead, prep components separately and assemble just before heating to preserve texture.
Taste and adjust with acid (lemon/vinegar) and salt right at the end to wake up flavors.


