Introduction
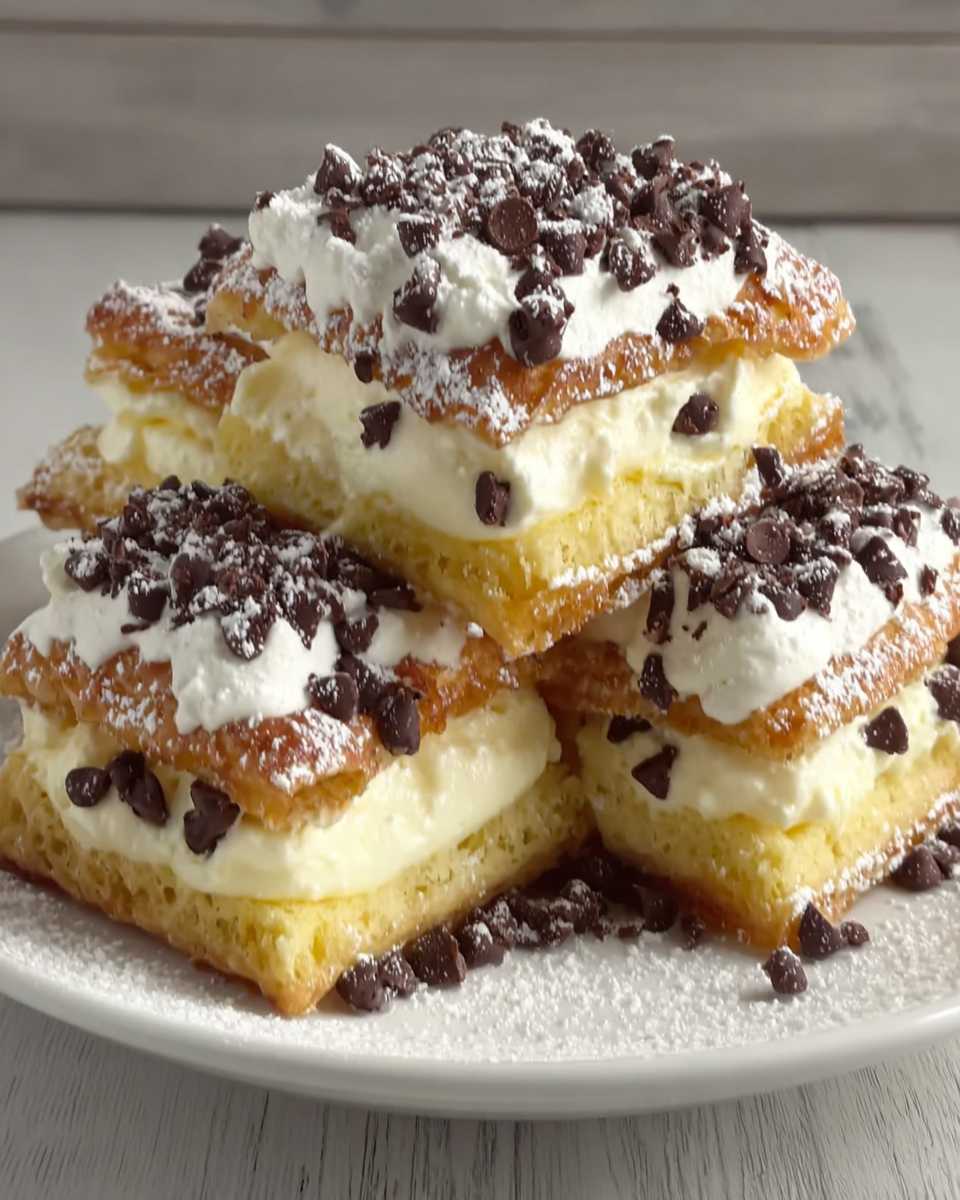
Classic Cannoli Squares offer a delightful twist on traditional Italian cannoli, removing the need for intricate pastry work while retaining all the luscious flavors. These squares are perfect for gatherings as they meld creamy filling with a crisp topping, creating a luxurious dessert that's both simple and impressive.
Imagine ending a meal with a slice of these rich, indulgent squares, the essence of cannoli captured in each bite. Filled with smooth ricotta and laced with chocolate chips and citrus zest, they are just as satisfying as their rolled counterparts, without the fuss.
Ingredients
- 1 ½ cups ricotta cheese
Ricotta is the star of the filling, providing a creamy texture and mild flavor that pairs beautifully with sugar and spices. It’s essential for achieving that classic cannoli taste. - 1 cup confectioners' sugar
Confectioners' sugar sweetens the filling and helps create a smooth consistency, ensuring that the filling blends seamlessly with the ricotta without any graininess. - ½ teaspoon vanilla extract
Vanilla extract enhances the flavor profile, adding warmth and a hint of aromatic sweetness that complements the cheesiness of the ricotta. - 1 teaspoon orange zest
Orange zest brightens the filling with a refreshing citrus note that rounds out the sweetness and adds a lovely fragrance, making each bite more flavorful. - ½ cup mini chocolate chips
Chocolate chips add a delightful contrast of flavor and texture to the creamy filling, providing little bursts of sweetness throughout the dessert. - 1 cup graham cracker crumbs
The graham cracker crumbs serve as the base for the squares, providing a crunchy texture that balances the creamy filling and adds a hint of sweetness. - ½ cup unsalted butter, melted
Melted butter binds the crumbs together, making the crust firm yet tender. It infuses the crust with richness, enhancing the overall flavor of the dessert. - 1 teaspoon ground cinnamon
Cinnamon adds warmth and depth to the crust, elevating the dessert with a hint of spice that beautifully complements the richness of the filling. - 1 cup heavy cream
Heavy cream is whipped and then folded into the ricotta filling to create a light and airy texture that makes the squares indulgently creamy while ensuring they aren't overly dense.
Directions & Preparation
Step 1: Preheat your oven to 350°F (175°C) and grease a 9×9 inch baking dish.
Starting with a properly preheated oven ensures that the crust bakes evenly and develops a nice golden color. Greasing the dish beforehand prevents the crust from sticking, allowing for easy removal once baked.
Step 2: In a medium bowl, combine graham cracker crumbs, melted butter, and cinnamon.
This mixture serves as the foundation for the dessert. The crumbs should be evenly coated with butter and cinnamon to impart flavor throughout. Mix until the crumbs are fully moistened, resembling wet sand.
Step 3: Press the mixture firmly into the bottom of the prepared baking dish.
Packing the crust tightly ensures it holds together when cut into squares. Use the back of a measuring cup or your hands to create an even layer, which contributes to a satisfying crunch that complements the filling.
Step 4: Bake the crust for 10–12 minutes until golden, then let it cool.
Baking the crust not only enhances the flavor through toasting but also helps it firm up, creating a sturdy base. Letting it cool is crucial, as adding filling to a hot crust can cause it to become soggy.
Step 5: In a large bowl, mix together the ricotta, confectioners' sugar, vanilla extract, and orange zest until smooth.
This step is vital for achieving a creamy filling. Gradually blending the ingredients ensures a lump-free texture. Taste the mixture and adjust the sweetness if desired, as different brands of ricotta can vary in flavor.
Step 6: Fold in the mini chocolate chips gently to distribute them evenly.
Gently folding in the chocolate ensures even distribution while maintaining the lightness of the mixture. Be cautious not to over-mix, as this can deflate the whipped cream that will be added next.
Step 7: In a separate bowl, whip the heavy cream until stiff peaks form.
Whipping the cream creates air bubbles, adding lightness to the filling. Stiff peaks provide structure, ensuring that the squares maintain their shape once set. Stop whipping once peaks hold well to avoid over-agitating the cream.
Step 8: Gently fold the whipped cream into the ricotta mixture until just combined.
This technique retains the airiness gained from whipping. A careful folding motion is essential for creating that signature light and fluffy cannoli filling without deflating it.
Step 9: Spread the ricotta filling evenly over the cooled crust.
Ensure the filling is spread evenly to give each square a consistent taste and texture. Use a spatula or the back of a spoon for a smooth surface. This step is crucial for presentation and overall enjoyment.
Step 10: Chill the squares in the refrigerator for at least 2 hours before serving.
Chilling allows the flavors to meld and the filling to firm up, making it easier to cut into squares. It also enhances the overall refreshment of the dessert, making it a delightful treat to enjoy any time.
Step 11: Cut into squares and serve; enjoy your Classic Cannoli Squares!
Cutting when chilled ensures clean edges, making for a beautiful presentation. Each square should reveal the layers of crust and filling, inviting everyone to indulge in this refined dessert.

Elevating Flavors with Zest
Using fresh citrus zest, particularly orange, significantly uplifts the flavor profile of the filling. It adds a vibrant brightness that contrasts beautifully with the creamy ricotta, enhancing the overall taste experience while reminding you of traditional cannoli. This simple addition ensures your squares won’t just taste good but will transport your taste buds to the heart of Italy.
Achieving the Perfect Texture
The key to remarkable cannoli squares lies in the creamy filling's texture. Whipping the heavy cream until stiff peaks form before folding is crucial; it lightens up the mixture beautifully. This creates a rich yet airy dessert that melts in your mouth while contrasting with the crunchy graham cracker base, resulting in a well-balanced dessert that satisfies various textures.
Serving Suggestions for Special Occasions
These Classic Cannoli Squares can effortlessly elevate any ordinary gathering into a celebration. Consider garnishing with a light dusting of cocoa powder or a drizzle of chocolate sauce just before serving. Pair them with fresh berries or a side of espresso for an elegant touch. Not only do these enhancements make for a stunning presentation, but they also allow guests to enjoy the dessert in new and exciting ways.
FAQs
What should I do if my ricotta filling is too sweet?
If the filling is overly sweet, consider folding in a small amount of additional ricotta or a pinch of salt to balance the sweetness.
Can I use a different type of crumb for the base?
Yes, you can substitute with crushed vanilla wafers or cookie crumbs to add a different flavor profile or texture, while still providing a sturdy base.
What happens if my filling turns out too thick?
If the filling is too thick, add a tablespoon of milk or cream gradually while stirring to reach a smoother consistency without compromising its structure.
How can I ensure my squares slice neatly?
Make sure to chill the squares thoroughly before slicing, using a sharp knife for clean cuts, and wiping the blade between slices to maintain neat edges.
Can I make these squares without chocolate chips?
Absolutely, you can omit the chocolate chips, or substitute with chopped nuts or dried fruit for a different texture and flavor.
What if my graham cracker crust is too crumbly?
If the crust is too crumbly, it may have been insufficiently pressed together or lacks enough butter. You can try adding a touch more butter and pressing it down firmer.
Conclusion
Classic Cannoli Squares are an accessible yet indulgent dessert that captures the love and flavor of traditional cannoli. Perfect for any occasion, these delightful treats are sure to impress family and friends.
With their creamy filling and crunchy base, they are a versatile dessert that can be easily adjusted to suit personal tastes. Embrace your culinary creativity and enjoy these scrumptious squares as a sweet ending to any meal.
Recipe Card

Delicious Apple Crumb Cake with Cinnamon Drizzle
Ingredients
- 2 cups all-purpose flour
- 1 teaspoon baking powder
- ½ teaspoon baking soda
- ½ teaspoon salt
- ¾ cup unsalted butter softened
- 1 cup granulated sugar
- 2 large eggs
- 1 teaspoon vanilla extract
- 3 cups peeled and chopped apples
- ½ cup brown sugar
- 1 teaspoon ground cinnamon
- 1 tablespoon milk
Instructions
- Preheat the oven to 350°F (175°C).
- Grease and flour a 9x13 inch baking pan.
- In a mixing bowl, whisk together the flour, baking powder, baking soda, and salt.
- In a separate bowl, cream together the softened butter and granulated sugar until light and fluffy.
- Add the eggs, one at a time, mixing well after each addition, then stir in vanilla extract.
- Gradually add the dry ingredients to the wet ingredients, mixing just until combined.
- Fold in the chopped apples gently.
- Pour the batter into the prepared pan and smooth the top.
- In a separate bowl, combine brown sugar, flour, cinnamon, and butter to make the crumb topping.
- Sprinkle the crumb topping evenly over the batter.
- Bake for 40-45 minutes or until a toothpick comes out clean.
- While the cake cools, prepare the cinnamon apple drizzle by combining powdered sugar, cinnamon, and milk until smooth.
- Drizzle the cinnamon apple mixture over the cooled cake.
Notes
Additional serving suggestions: pair with a crisp salad, garlic bread, or roasted seasonal vegetables for balance.
For make-ahead, prep components separately and assemble just before heating to preserve texture.
Taste and adjust with acid (lemon/vinegar) and salt right at the end to wake up flavors.


