Introduction
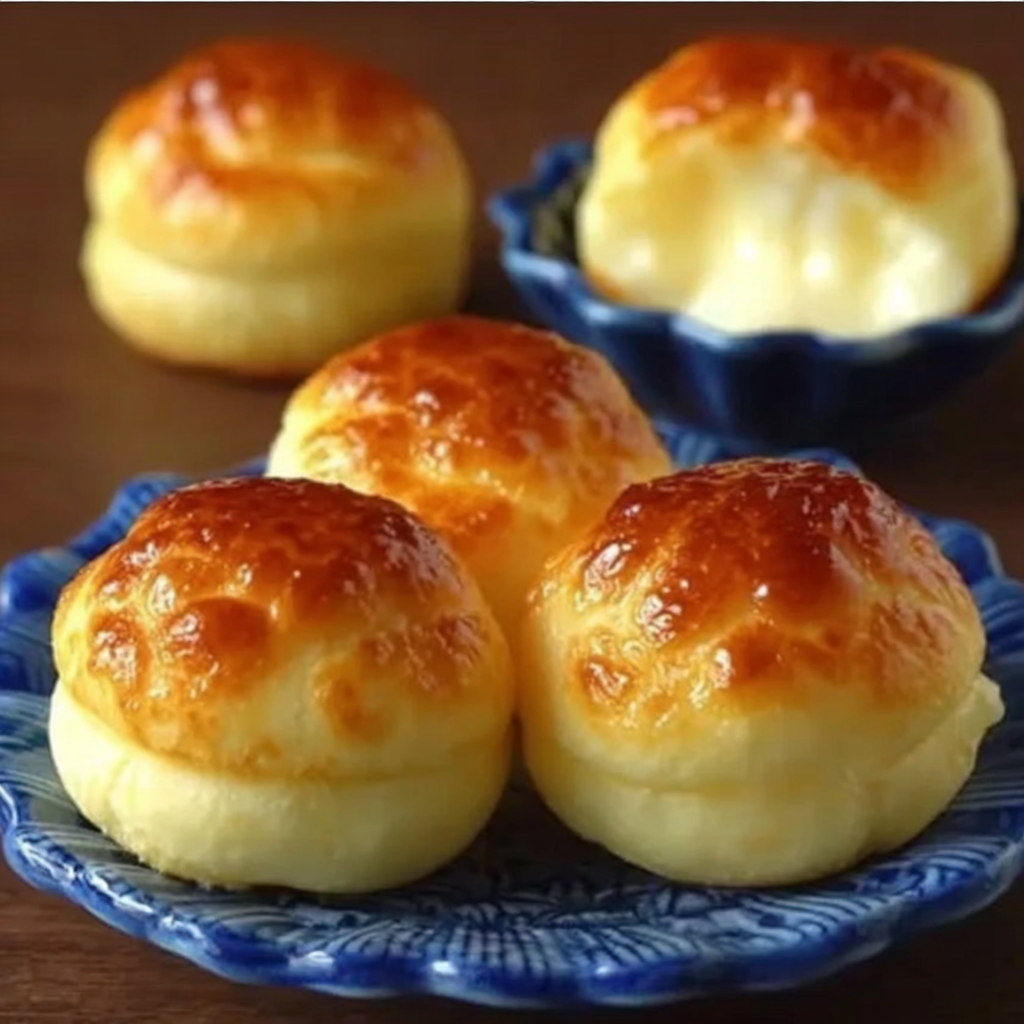
Nun's Puffs are a delightful and airy treat that have charmed dessert tables for centuries. With their light and eggy texture, these pastries are as fun to make as they are to eat. Originating from a recipe attributed to nuns, they are sure to mesmerize your guests with their whimsical nature.
The beauty of Nun's Puffs lies in their simplicity, making them a perfect project for home cooks of all levels. Whether you are serving them with tea, coffee, or as an elegant dessert, these little puffs will stand out in flavor and presentation.
Ingredients
- 1 cup water
Water acts as the base for the dough, providing moisture that will steam and elevate the puffs during baking. - 1/2 cup unsalted butter
Butter enriches the dough, lending flavor and contributing to that desirable flaky texture that makes each puff so irresistible. - 1 cup all-purpose flour
Flour forms the structure of the pastry and combines with the water to create a dough that will hold its shape as it puffs. - 4 large eggs
Eggs provide leavening and richness, creating a light, airy interior while also helping the puffs rise beautifully during baking. - 1/4 teaspoon salt
Salt enhances flavor, balancing the sweetness and bringing out the other ingredients' nuances. - 1 teaspoon vanilla extract
Vanilla adds a fragrant sweetness that elevates the overall taste of the puffs, contrasting with the savory elements. - Powdered sugar for dusting
This is optional but adds a delightful finishing touch that enhances the visual appeal and provides a hint of sweetness with each bite.
Directions & Preparation
Step 1: Preheat the oven to 400°F (200°C).
Preheating the oven is crucial for achieving the right texture. A hot oven will create steam quickly, allowing the puffs to rise effectively and develop that light, airy quality you desire.
Step 2: In a medium saucepan, combine water and butter over medium heat. Stir until the butter melts completely.
This step melts the butter into the water, creating a homogenous mixture that will ensure even hydration of the flour when added. Stirring helps to incorporate the fat thoroughly, leading to consistent puffing.
Step 3: Add the flour and salt to the saucepan in one go, stirring vigorously until the mixture forms a ball and pulls away from the sides.
Incorporating the flour quickly prevents clumping and creates a smooth dough. This process is vital to developing the structure of the puffs; the dough needs to be well combined yet not overworked.
Step 4: Remove from heat and let it cool for about 5 minutes. Then, add eggs one at a time, mixing well after each addition until fully incorporated.
Cooling the dough slightly prevents the eggs from cooking when added, which is essential to avoid a scrambled texture. Proper incorporation is key for ensuring the air pockets that allow the puffs to rise.
Step 5: Stir in the vanilla extract to the mixture, combining it well.
Adding vanilla at this stage allows its flavor to permeate the dough throughout. This infusion enhances the overall taste, ensuring that every puff has that delightful hint of vanilla.
Step 6: Line a baking sheet with parchment paper and use a piping bag or spoon to drop mounds of dough onto the sheet, spacing them about 2 inches apart.
Spacing the puffs allows them room to expand without merging into one another. The shape you pipe or scoop will determine the final look, so aim for consistent sizes for even baking.
Step 7: Bake for 20-25 minutes until they are puffed and golden brown. Avoid opening the oven during this time.
Baking without interruption is essential for maintaining the oven's heat, which supports the puffing process. The visual cue of golden color will indicate they are done, ensuring each puff has a lovely crisp exterior.
Step 8: Remove from the oven and let them cool slightly before dusting with powdered sugar. Serve warm or at room temperature.
Cooling slightly before serving allows the puffs to retain their moisture while not being too hot to handle. Dusting with powdered sugar adds a touch of elegance and sweetness, making them visually inviting.

The History Behind Nun's Puffs
Tracing their origins, Nun's Puffs date back centuries to when nuns made these simple yet delectable pastries using leftover dough. The combination of accessible ingredients and techniques allowed for a versatile recipe that has been passed down through generations, cherished as both a treat and a symbol of joy.
Perfect Pairings for Your Nun's Puffs
Nun's Puffs make for an exceptional treat at gatherings, particularly when paired with a light fruit compote or a drizzle of honey. The airy texture complements a variety of accompaniments, making them versatile enough to serve with coffee, tea, or a fruity dessert wine. Enhance your guests' experience by presenting them with options.
Tips for Achieving That Perfect Puff
Achieving the ideal puff can sometimes be tricky, but a few tips can help ensure success. Make sure to measure ingredients accurately and pay attention to oven temperature. Keeping the oven door closed during baking is crucial to maintaining the heat needed for proper rising. With practice, you'll refine your technique and create consistently delightful Nun's Puffs.
FAQs
What should I do if my Nun's Puffs don't rise?
If your Nun's Puffs don't rise, it could be due to insufficient heat or under-mixing of the dough. Ensure your oven is preheated to the right temperature and mix the eggs thoroughly until the mixture is smooth.
Can I make the dough ahead of time?
It’s best to bake the dough immediately after preparation for optimal puffing. However, you can refrigerate the mixture for up to an hour before baking if necessary.
Are there flavor variations for these puffs?
Yes! You can experiment by adding citrus zest, almond extract, or even chocolate chips to the mixture for unique flavor profiles.
How can I scale this recipe for a larger group?
This recipe can easily be doubled or tripled. Just ensure you have enough baking sheets and adjust baking times as needed for larger batches.
What can I do if my puffs turn out too dense?
If your puffs are dense, they may not have been baked long enough or the dough was overmixed. Make sure to thoroughly combine the ingredients and monitor baking time closely.
Is there a way to make these puffs savory instead of sweet?
Definitely! By omitting the vanilla and sugar, you can add savory ingredients such as cheese, herbs, or spices to create a delightful appetizer version.
Conclusion
Nun's Puffs are a magical addition to any dessert table or coffee morning. Their light, airy texture and subtle sweetness make them a delight that pairs beautifully with a variety of beverages.
By following this recipe, you’ll create not just a treat, but a piece of culinary history that can be enjoyed by your family and friends. Embrace the joy of making Nun's Puffs and watch them become a staple in your home cooking repertoire.
Recipe Card

Delicious Apple Crumb Cake with Cinnamon Drizzle
Ingredients
- 2 cups all-purpose flour
- 1 teaspoon baking powder
- ½ teaspoon baking soda
- ½ teaspoon salt
- ¾ cup unsalted butter softened
- 1 cup granulated sugar
- 2 large eggs
- 1 teaspoon vanilla extract
- 3 cups peeled and chopped apples
- ½ cup brown sugar
- 1 teaspoon ground cinnamon
- 1 tablespoon milk
Instructions
- Preheat the oven to 350°F (175°C).
- Grease and flour a 9x13 inch baking pan.
- In a mixing bowl, whisk together the flour, baking powder, baking soda, and salt.
- In a separate bowl, cream together the softened butter and granulated sugar until light and fluffy.
- Add the eggs, one at a time, mixing well after each addition, then stir in vanilla extract.
- Gradually add the dry ingredients to the wet ingredients, mixing just until combined.
- Fold in the chopped apples gently.
- Pour the batter into the prepared pan and smooth the top.
- In a separate bowl, combine brown sugar, flour, cinnamon, and butter to make the crumb topping.
- Sprinkle the crumb topping evenly over the batter.
- Bake for 40-45 minutes or until a toothpick comes out clean.
- While the cake cools, prepare the cinnamon apple drizzle by combining powdered sugar, cinnamon, and milk until smooth.
- Drizzle the cinnamon apple mixture over the cooled cake.
Notes
Additional serving suggestions: pair with a crisp salad, garlic bread, or roasted seasonal vegetables for balance.
For make-ahead, prep components separately and assemble just before heating to preserve texture.
Taste and adjust with acid (lemon/vinegar) and salt right at the end to wake up flavors.


